Showing posts with label oracle11g. Show all posts

Export Import Schemas level using data pump

 In the previous section we have done Table level export import now we will do the schema level import export  .
We will use the directory which we have already created in table level export section. Please visit the below link  for Table level export import:


and follow the steps 2,3,4 if you are have not created any directory else you can use your created directory.

Once the directory created please follow the below steps to export schemas:

Step 1:- Export HR Schema
expdp directory=TESTDIR dumpfile=schema_exp_hr.dmp logfile=schema_exp_hr.log schemas=HR
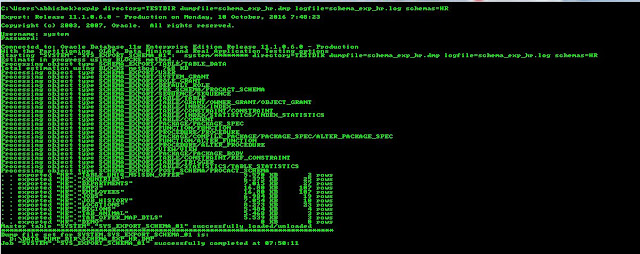
Step 2:-Once export done please check the log schema_exp_hr.log

Step 3:- Now drop the HR schema along with all the objects inside it
Drop user hr cascade;

Step 4:- Import the HR schema again
impdp directory=TESTDIR dumpfile=schema_exp_hr.dmp logfile=schema_imp_hr.log schemas=HR
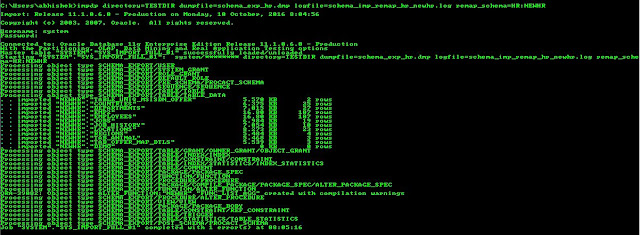
Step 5:- Once imported please check the log file :schema_imp_hr.log 
and then try to log in with the HR log in credential .

REMAP_SCHEMA command will add objects from source schema to target schema
For Expample :The hr schema into the existing HRNEW schema.
if user HRNEW already exists before the import, then the Import will import all the object
else it will create HRNEW schema and then import all the object .

impdp directory=TESTDIR dumpfile=schema_exp_hr.dmp logfile=schema_imp_remap_hr_newhr.log remap_schema=HR:NEWHR


Related Article :

I am interested in hearing your feedback about this Export and Import using data pump , So that I can improve my lab series on sql for you.connect with us on facebook, twitter

Share

Did you enjoy reading this and found it useful? If so, please share it with your friends:

Export Import Schemas level using data pump

 In the previous section we have done Table level export import now we will do the schema level import export  .
We will use the directory which we have already created in table level export section. Please visit the below link  for Table level export import:


and follow the steps 2,3,4 if you are have not created any directory else you can use your created directory.

Once the directory created please follow the below steps to export schemas:

Step 1:- Export HR Schema
expdp directory=TESTDIR dumpfile=schema_exp_hr.dmp logfile=schema_exp_hr.log schemas=HR
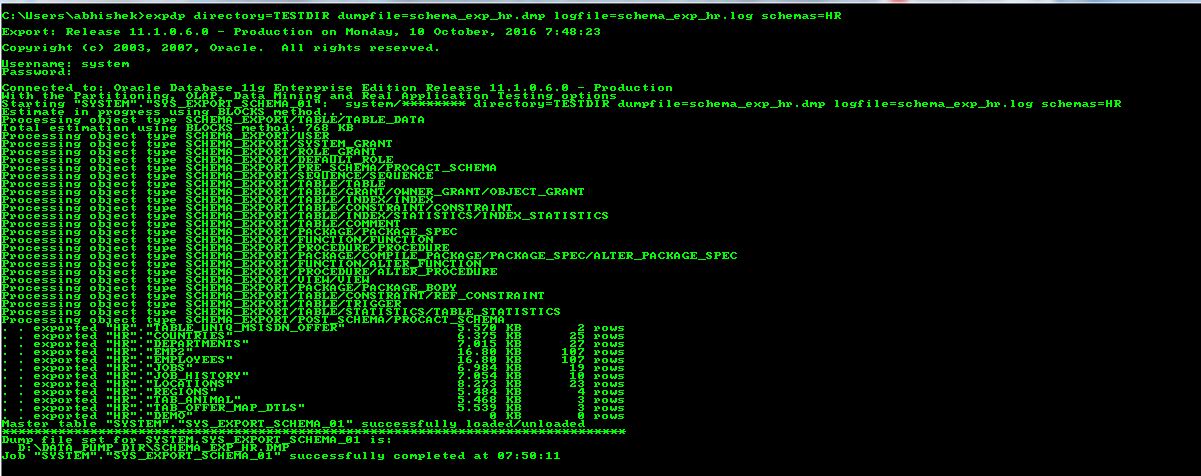
Step 2:-Once export done please check the log schema_exp_hr.log

Step 3:- Now drop the HR schema along with all the objects inside it
Drop user hr cascade;

Step 4:- Import the HR schema again
impdp directory=TESTDIR dumpfile=schema_exp_hr.dmp logfile=schema_imp_hr.log schemas=HR

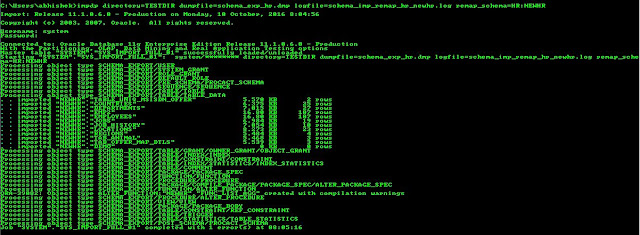
Step 5:- Once imported please check the log file :schema_imp_hr.log 
and then try to log in with the HR log in credential .

REMAP_SCHEMA command will add objects from source schema to target schema
For Expample :The hr schema into the existing HRNEW schema.
if user HRNEW already exists before the import, then the Import will import all the object
else it will create HRNEW schema and then import all the object .

impdp directory=TESTDIR dumpfile=schema_exp_hr.dmp logfile=schema_imp_remap_hr_newhr.log remap_schema=HR:NEWHR

Related Article :

I am interested in hearing your feedback about this Export and Import using data pump , So that I can improve my lab series on sql for you.connect with us on facebook, twitter

Share

Did you enjoy reading this and found it useful? If so, please share it with your friends:

Export Import Table level using data pump

In this section will do Hands on Export Import Table level using data pump.

Step 1: Create a copy of the employees table under the HR schema
CREATE TABLE EMP2 AS SELECT * FROM EMPLOYEES;

Step 2. Create directory at the OS Level
D:\data_pump_dir

Step 3. Create a DIRECTORY at DB level
CREATE DIRECTORY testdir AS 'D:\data_pump_dir';

Step 4:Give Read /Write to User system
GRANT READ,WRITE ON DIRECTORY testdir TO hr;

Step 5. Export the EMP2 table from the HR user
expdp hr/hr directory=TESTDIR dumpfile=exp_tab_hr.dmp logfile=exp_tab_hr.log tables=HR.EMP2

Step 6. Verify that a .DMP file and a .LOG file exists in the DATDUMP directory
Step 7. Examine the .LOG file with any text editor
Step 8. Logon to HR and drop the EMP2 table
DROP TABLE hr.emp2;

Step 9. Import the .DMP file back into the HR user.
impdp hr/hr directory=testdir dumpfile=exp_tab_hr.dmp logfile=imp_tab_hr.log tables=HR.EMP2
Step 10. Verify that the emp2 table is re-created and re-loaded with data.
select * from hr.emp2;

Related Article :


I am interested in hearing your feedback about this Export and Import using data pump , So that I can improve my lab series on sql for you.connect with us on facebook, twitter

Share

Did you enjoy reading this and found it useful? If so, please share it with your friends: 

XML file data loading using EXTERNAL TABLE

Today we will learn about how to use the external table to load the xml data file .

Before going to for the steps lets discuss about
What is External Table ?

An external table is database object in which table structure and definition are stored inside the Oracle but the data as the name suggest reside outside the oracle .
  The External table enable us to access the external data and  as data segments not gets stored  in oracle we can not create any index,update the records and delete the records  external table  .

Here are the steps the access the xml file in oracle:
Sample File : Open a notepad type the below code and save as tab_friends.xml  which is used in this article

<?xml version="1.0" encoding="UTF-8"?>
<dataroot xmlns:od="urn:schemas-microsoft-com:officedata" xmlns:xsi="http://www.w3.org/2001/XMLSchema-instance"  xsi:noNamespaceSchemaLocation="tab_friends.xsd" generated="2016-02-12T10:56:07">
<Table1>
<SRL_NO>1</SRL_NO>
<NAME>ABHISHEK</NAME>
<COMPANY>TCS</COMPANY>
</Table1>
<Table1>
<SRL_NO>2</SRL_NO>
<NAME>SATHIS</NAME>
<COMPANY>CTS</COMPANY>
</Table1>
<Table1>
<SRL_NO>3</SRL_NO>
<NAME>MOURYA</NAME>
<COMPANY>TCS</COMPANY>
</Table1>
<Table1>
<SRL_NO>4</SRL_NO>
<NAME>SONY</NAME>
<COMPANY>ORACLE</COMPANY>
</Table1>
</dataroot>


Steps 1: Create the directory 
create or replace directory DIR_DATA_LOAD as 'D:\TEST';

We can check the info about the already created directory what is the path where we need to keep the xml file from the dba_directories views

select * from dba_directories r where r.directory_name='DIR_DATA_LOAD';

Steps 2: Read/Write access to DIRECTORY
After successful creation of directory we need to give the read ,write access to the user who will use this directory to access the xml file i.e if HR use want to access the file using DIR_DATA_LOAD directory then like below need to give access .

Grant read,write ON DIRECTORY  DIR_DATA_LOAD to HR;

Steps 3: External Table Creation for xml file  

CREATE TABLE hr.ext_tab_xml_frnd
(
srl_no integer,
name varchar2(200),
company varchar2(200)
)
organization external
(
type oracle_loader
default directory DIR_DATA_LOAD
access parameters (
                  records delimited by "</Table1>"
                  BADFILE 'bad.bad'
                  LOGFILE 'log.log'
                  fields missing field values are null
                   (
                    table1 char(2000) terminated by "<Table1>",
                    srl_no CHAR(2000) enclosed by "<SRL_NO>" and "</SRL_NO>",
                    name char(2000) enclosed by "<NAME>" and "</NAME>",
                    company char(2000) enclosed by "<COMPANY>" and "</COMPANY>",
                    table2 char(2000) terminated by "</DATAROOT>"
                    )
                   )
location ('tab_friends.xml')
)
parallel
reject limit unlimited ;

Steps 4: Reading the data of xml file  
Once the external table created we query the table like other table
select * from ext_tab_xml_frnd;

Wanted to create a table from the external table data
Create table xml_frnd 
as 
select * from ext_tab_xml_frnd;

And wanted to store the data into the another table then  select and insert
insert into xml_frnd
select * from ext_tab_xml_frnd;


I am interested in hearing your feedback about this XML file data loading using EXTERNAL TABLE , so that I can improve my lab series on sql for you.connect with us on facebook, twitter

Share

Did you enjoy reading this and found it useful? If so, please share it with your friends: 

ORA-28001: the password has expired (DBD ERROR: OCISessionBegin)


I received the above error when try to start Oracle Enterprise Manager (OEM)

And the reasons might be sysman,dbsnmp  password expired or lock due to user password setting The simple steps to unlock the sysman user.

STEP 1: Sign in SQLPlus as sysman in my case only password expired as shown in below image  and if remember the old sysman password and accoring
to password setting if allow you to change the
password then change the password
else ,
Sign in as SYSDBA and run the below sql
ALTER USER SYSMAN IDENTIFIED BY NEW_PASSWORD ACCOUNT UNLOCK;
STEP 2: Once you change the password and unlock the sysman password try to log in to OEM


STEP 3: Try to log in as sys  as sysdba ,and once able to log in this will prompt for all user expired password and new password ,assign the new password for expired user password .


STEP 4: Log out and log in again and enjoy working with OEM


I am interested in hearing your feedback, so that I can improve my articles and learning resources for you.connect with us on facebook, twitter

Share

Did you enjoy reading this and found it useful to solve your error ? If so, please share it with your friends:

sql developer enter full pathname for java.exe

  In this section we are going to solve the problem which i encoutered the following message repeatedly when trying to start SQL Developer  after installtion of Oracle Database 11g Enterprise: Enter the full pathname for java.exe.

and the solution is very easy just enter the path :

C:\app\abhishek\product\11.1.0\db_1\jdk\bin

after enter the correct path

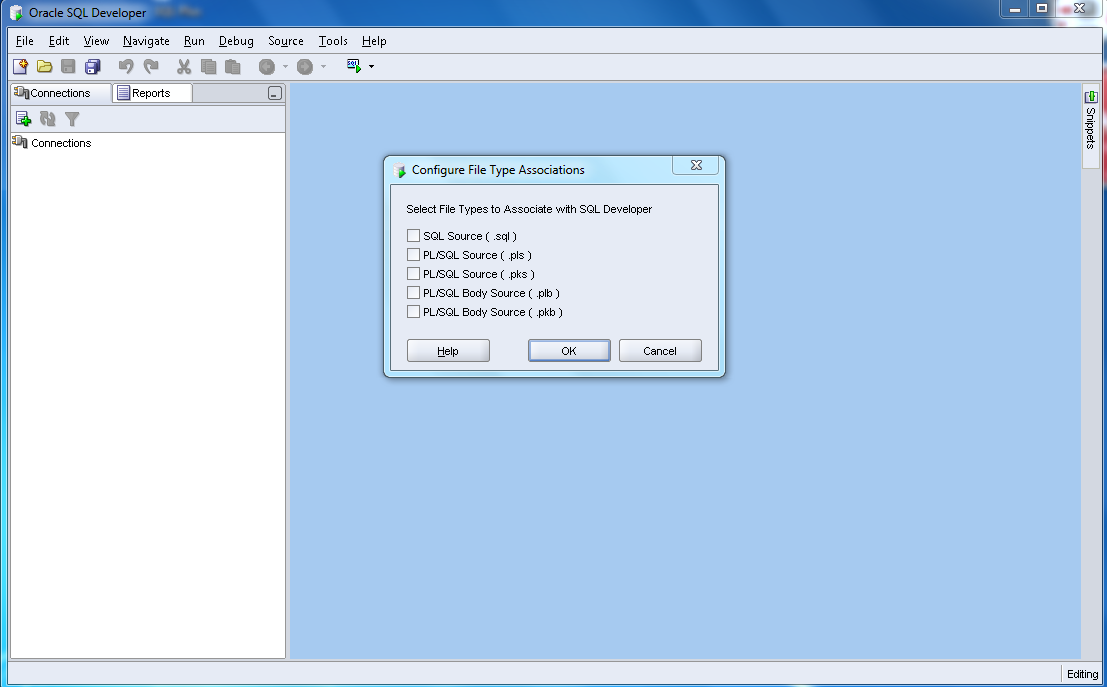
Step 1: select the file type ...
Step 2: Connect to database . befor connect test the connection and once the connection successfull then save the connetion and connect to database .
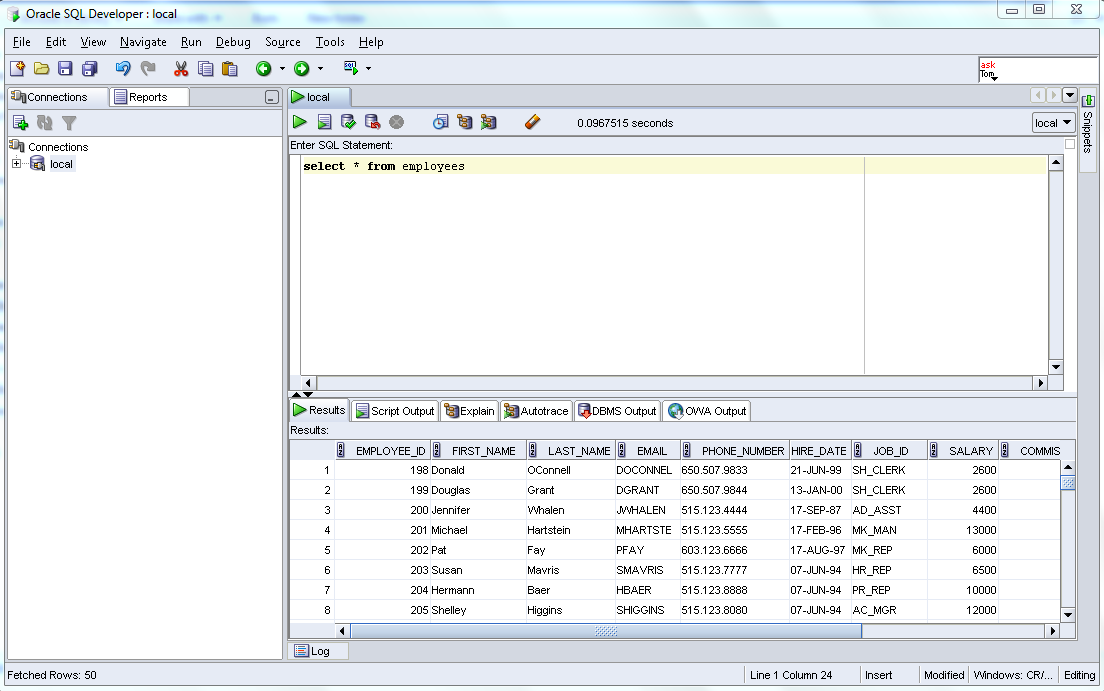
Step 3: after successfully connection try to execute some sql Query.
I am interested in hearing your feedback, so that I can improve my articles and learning resources for you.connect with us on facebook, twitter

Share

Did you enjoy reading this and found it useful? If so, please share it with your friends: